Dog Oral Health and Care
The good news is that cavities are rare in dogs. The really bad news is that more than 80 percent of dogs over the age of three have gum disease, and among dogs adopted from shelters and rescue groups the percentage is closer to one hundred.
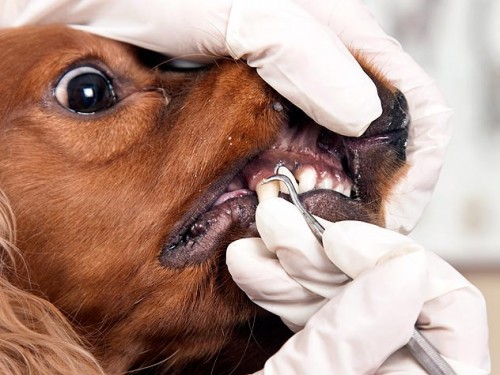
If he has other problems that need attention, they could be addressed at the same time. Although relatively expensive, regular professional dental care will make your dog feel better and keep his breath more pleasant for you to be near. Most important, good dental hygiene may prolong your dog’s life, because infected gums release bacteria into the bloodstream that can attack organs throughout the body.
Teeth cleaning is done under general anesthesia to give your vet free access to your dog’s mouth. Your vet, or her assistant, will remove tartar and plaque, and then polish your dog’s teeth. She will check for loose or damaged teeth, which may need to be removed or repaired, and for other signs of trouble. Different dogs need their teeth cleaned with varying frequencies, so be sure to talk to your vet about this.
There’s more to doggy dental care than vet visits. Between professional cleanings, bacteria cluster along your dog’s gum line. The bacteria form plaque, which hardens into tartar (calculus) if it’s not removed.
Tartar irritates the gums, causing gingivitis and periodontal (gum) disease characterized by abscesses, infections, and tooth and bone loss. To prevent or slow this destructive process, you need to brush your dog’s teeth.
Ideally, you should brush them every day, but every two or three days will go a long way toward preventing gum disease. Use toothpaste made for dogs — toothpaste for people can make your dog sick if he swallows it — and apply it with a brush designed for dogs, or a finger brush, or a small disposable dental sponge, whichever you find easiest.
Keep an eye out for signs of oral problems, including red, puffy gums; sudden or prolonged and copious drooling; swelling or lumps; ulcers and sores on the lips, gums, tongue, or other oral tissues; tenderness around the mouth; damaged teeth or tissues; inability to eat, or obvious discomfort when doing so; and foul breath. The sooner you catch a problem and bring it to your vet’s attention, the better for your dog and, probably, your wallet.
In addition to a good dental care regimen, you can help keep your dog’s mouth and teeth healthy by feeding him high-quality food, and by providing him with safe chew toys that help clean his teeth and gums.
The more you can do to remove plaque and tartar from your dog’s teeth between veterinary visits, the less frequently your dog will need to undergo a veterinary dental treatment. Since the procedure involves anesthesia — which is never without some risk — and can be costly, it’s in your and your dog’s best interests to follow a regular dental health regime at home.
DIY Dog Tear Stain Remover
Thoroughly mix equal parts corn starch, milk of magnesia, and hydrogen peroxide to make a creamy paste. The amount you will need depends on the size of your dog, but about a teaspoon each should be enough to get you started.
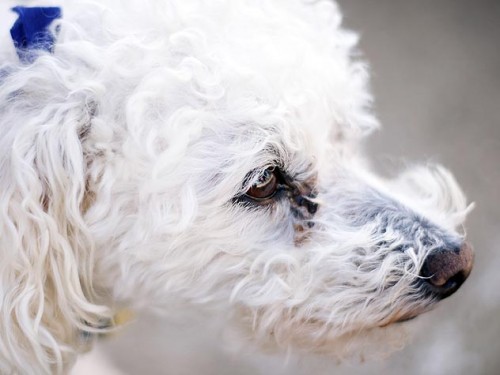
Keep your dog’s head still, and let the paste stay on his fur for ten to twenty minutes, then wash it out thoroughly. You may want to condition the bleached fur after this process, as it may be brittle. You can repeat this process, as necessary, every couple of days until the stains are removed.
If you cannot easily keep your dog still for the ten to twenty minutes needed for the solution to work, do not risk this method as the solution could get in your dog’s eyes.
How To Clean a Dog’s Ears
Even though we give them lots of good scratches, when it comes to grooming, the ears of dogs are frequently the most neglected parts of their bodies. But their ears are also one of the most important areas to attend to. Ear infections can be serious, and can begin easily if an animal’s ears are not kept clean. After all, how will Biffer know when to start salivating if his ears don’t pick up the sound of kibble hitting his bowl? Make sure your furry guests keep their ears perked up by following these simple steps.
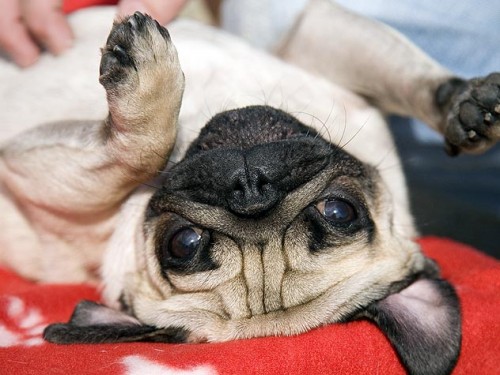
Be careful! If the dog’s ears have an offensive odor, or if he has been scratching them repeatedly, you should not remove the icky stuff that might have accumulated; whatever’s there can help your vet determine the cause of the “ear-itation” and figure out how to treat it. So if he’s scratching, or if you’re tempted to plug your nose while cleaning his ears, you should turn the task over to your veterinarian or veterinary technician first; she can take swabs of the substance for examination.
2. Ear We Are
Before you start your scrubbing, make sure you’ve set the table. You should have your supplies set out and ready to go. Put out your cotton balls and cleanera commercially prepared ear cleaner with a low alcohol content is best. Wash your hands thoroughly so you don’t introduce any infectious particles to the dog’s ears. You may want to work with a buddy; your friend can provide distracting pats while the ear cleaning takes place.
3. Wipe Out!
Once you’ve determined that your dog’s ears are merely dirty and not full of mites or infection, you can remove the dirt. Using a cotton ball moistened with mineral oil, gently wipe out the inner surface of the animal’s earflap. Discard the first cotton ball and moisten another; with this one, clean out the part of the ear canal that you can see. Stop when you feel resistance-don’t try to stick the cotton ball any farther into the ear than it should go. Repeat this process on the other ear. Make sure you remove any foreign matter, whether it’s dirt, bugs, or just waxy buildup.
4. Ears to You!
Give your furry friend a pat, give your helper a high-five, and send your little buddy on his way. Now he’ll be well-prepared to hear those wonderful words:
“Look, honey, he’s beautiful! He’d be a wonderful new member of our family.”
“Oh, you’re right. And his ears are so clean!”
Help! My Dog Hates Baths
Q: How do I get my dog to stop biting when I try to give her a bath? It’s like she becomes a ferocious attack dog. – Jason S.
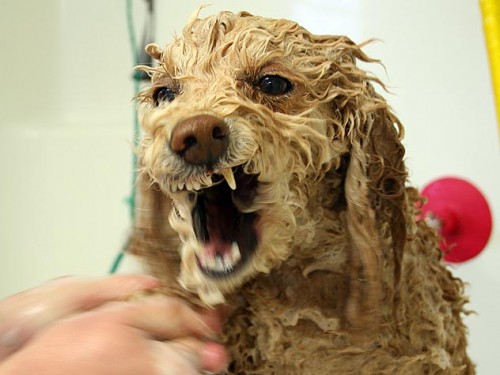
Practice having her in the tub, if that is her bathing spot, with no water running at first. Running water can be scary for dogs, especially with a high-pressure faucet.
Put down an inexpensive rubber bath mat so she doesn’t slip (slipping can add to her nervousness).
Have her on leash and have a helper gently hold her as you let her lick from a sterilized bone (such as those made by Gimborn) stuffed with a creamy food like cream cheese or peanut butter. Gently brush her as she works on the bone.
Keep practicing this in short sessions until she is calm.
Once your dog is calm in the tub, introduce water by taking a container of warm water gently pouring it on one of your dog’s feet.
Gradually increase the length of time in the tub and the amount of water used until you can give her a full bath.
What’s That Smell? Tips for Tackling Dog Smells
Some dogs have a knack for getting themselves good and stinky. Here are tips for cleaning up three particularly offensive (to humans, at least) smells: skunk, dead fish, and “I don’t even want to know what you rolled in.”
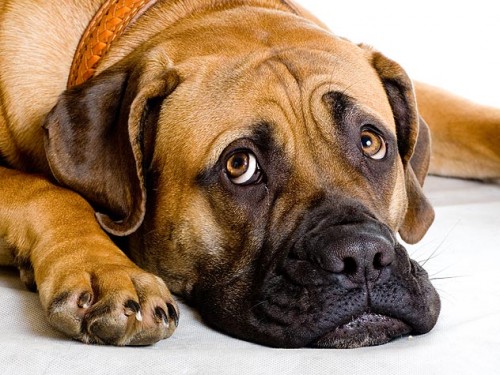
Skunk: If your dog tangles with a skunk, here’s a formula that works for many dog parents:
1 quart 3% hydrogen peroxide
1/4 cup baking soda
1 teaspoon liquid soap
Use the mixture immediately (it cannot be stored in a container), while it’s bubbly, and rinse thoroughly. It may discolor fabric as well as dark colored fur.
Don’t leave the mixture on your dog more than a few minutes. Bathe and condition afterward, if you like.
Dead fish: If you spend time with your dog by a pond, lake, or beach, he may anoint himself from time to time with eau de dead fish.
Wash the worst of it off with dog shampoo and water, and rinse well. Then saturate the fishy area with lemon juice – freshly squeezed works best. Let it soak for five to ten minutes — a nice time to chat with your dog. (Don’t scold him — he’s just doing dog things that you could prevent with a leash.)
Then rinse, shampoo, and rinse again, and apply conditioner according to directions to counteract the drying effect of the lemon juice.
Icky, greasy, who-knows-what gunk: If your dog rolls in foul-smelling things he finds in the yard or on a walk, a bath with Dawn dishwashing liquid will probably remove it. Dawn is often used to clean up wildlife that has been exposed to oil and other toxic substances.
How-to: Hand Stripping and Dog Grooming for a Wire Haired Terrier
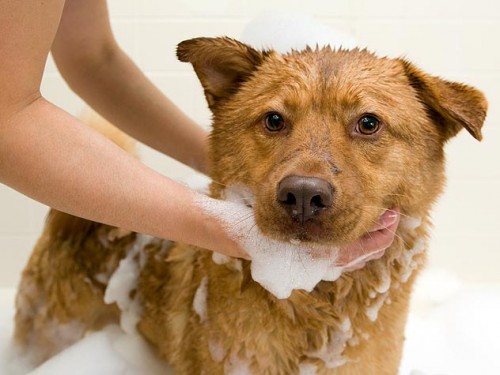
How to Give Your Dog a Bath
As much as we all love for our furry friends to smell fresh and clean, getting to that point isn’t always easy. Dogs are rarely excited to jump into the bathtub for a good scrub. Bathing fearful dogs might be better handled by a professional groomer or your veterinary office. But if you decide to wade in, here are some helpful hints.
GETTING (YOU) READY
GETTING (FIDO) READY
Trimming your pet’s nails prior to bath time will not only give your dog better footing, it will also help protect your skin in case he tries to make a break for it. Now, bring the dog into the bathroom and close the door behind you — catching a wet, soapy dog running down your hallway is no easy task! Give praise and treats to make him comfortable in the bathroom before you try to get him into the tub. If you’re able to, gently putting a cotton ball in each ear can help keep water out — just be sure to remove them when you’re finished! Also, to help keep shampoo from irritating his eyes, you can put a drop of mineral oil in each one.
BRING ON THE SUDS
Dogs are unlikely to get into the tub willingly. For bigger dogs, a second person to help you get Fido into the bath can help avoid straining your back. Make sure water isn’t too hot or too cold. Let your dog hear and then gently feel the water before going full-speed ahead with the bath. Start shampooing your dog’s shoulders and then move out from there. Be gentle around the face and any sensitive areas but be sure you get down to the undercoat. Read the directions on the shampoo bottle carefully to ensure proper usage. Rinse out all the shampoo, using your fingers to make sure you get through the undercoat to avoid subsequent irritation. This is where a detachable showerhead or bowl comes in handy to be sure bigger dogs get rinsed thoroughly.
NO MORE TANGLES
After the shampoo has been completely rinsed out, you can apply conditioner, if desired. Follow the directions on the bottle because some products need to sit on the coat for several minutes. If you have a particularly squirmy dog, you’ll want to find a fast-acting formula. Once you have finished the bath, it is time to dry your pooch. Towel dry as much as possible in the bathroom. For dogs with longer coats, you may want to use a blow dryer set on low. Before the dog leaves the bathroom, brush his coat out thoroughly because the bath will loosen up a lot of fur, which is better contained in the bathroom than all over the house. Many dogs get “after-bath-crazies,” so hold onto your hat and let ‘em run!


